The goal of this tutorial
Dashboard Panels is a great way to improve the usability of the WebUI. You can give relevant information or quick access to important functions for users right from the main page. The goal of this tutorial is to show how you can create your charts, Tables & information from Metabase to ADempiere/iDempiere Dashboard Panel.
Prerequisition
- DB setup [ Here we use PostgreSQL ]
- Metabase Jar [ You can download from HERE or Refer Metabase Website ]
- ADempiere/iDempiere Server
What is Metabase?
Metabase is an open source business intelligence tool. It lets you ask questions about your data and displays answers in formats that make sense, whether that’s a bar graph or a detailed table.
Start Metabase server
The most basic way of running Metabase is to open up a terminal and use Java to launch the application. This is the only command you’ll need:
java -jar metabase.jar
It’s that simple. This will start the Metabase application using all of the default settings. You should see some log entries starting to run in your terminal window showing you the application progress as it starts up.
This will launch a Metabase server on port 3000 by default.
Metabase requires that you have Java 7 or higher available on your system. If you want to learn more about how to run Metabase using the .jar file to click HERE.
Setting up Metabase
Start Metabase up for the first time and you’ll see this screen: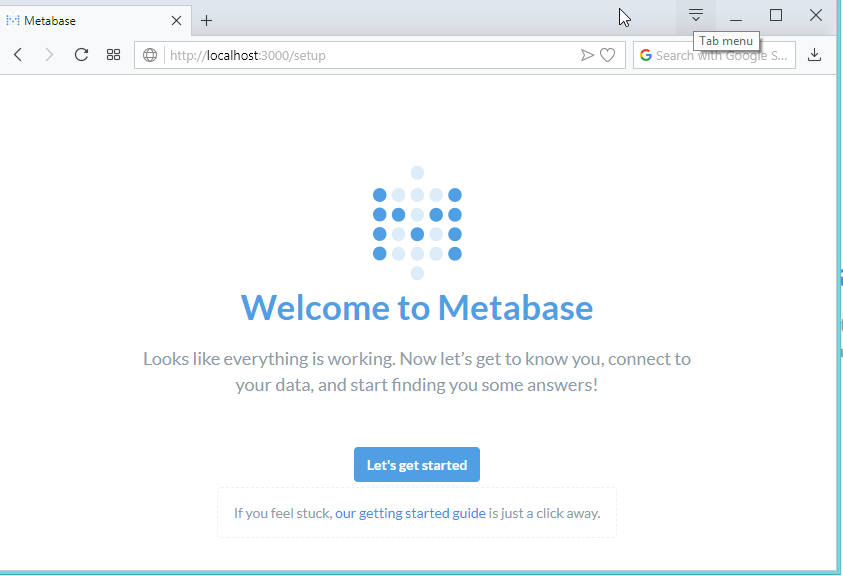
Go ahead and click Let’s get started.
Setting up an admin account
The first thing you’ll need to do is set up an admin account. The account you create when you first install Metabase is an admin account by default — handy! If you’ve installed Metabase on a production server, you should be really careful to remember the password for this account since it will be used to add other users, connect to databases, set up email, and more. You can also create additional admin accounts later.
For now, let’s just create an account for ourselves to explore Metabase. Type in your info, and when you’re ready to continue, click the Next button.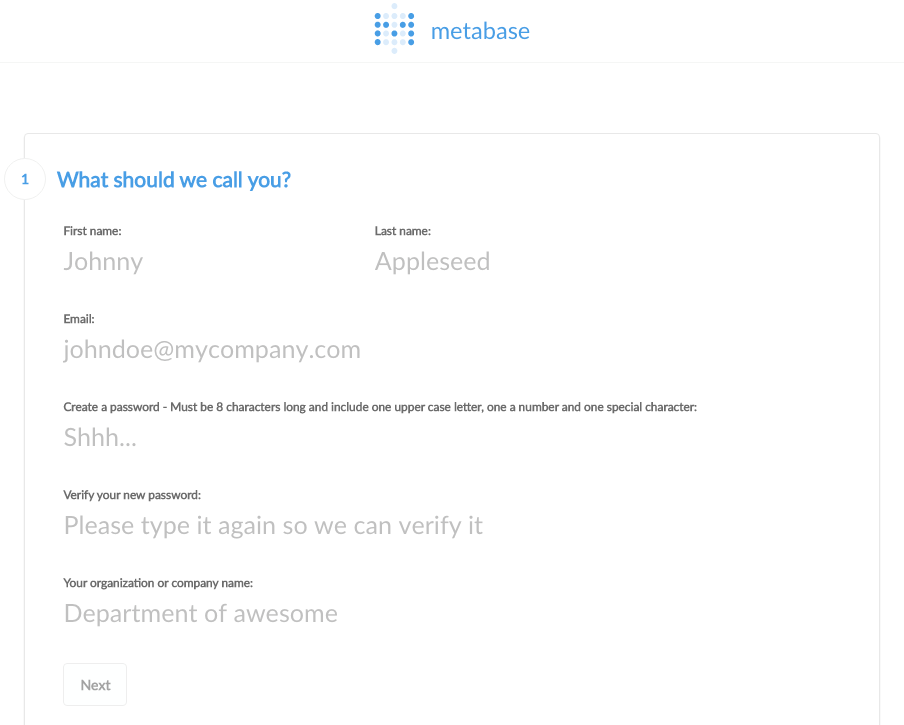
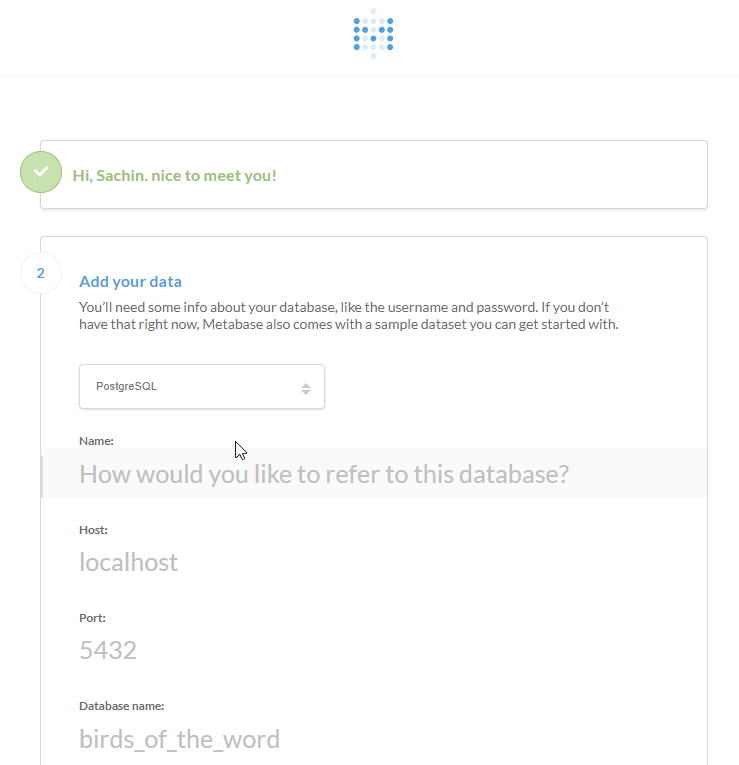
Gathering your database info
At this point, you’ll need to gather some information about the database you want to use with Metabase. We won’t be able to connect to your database without it, but you’d like to deal with all of this later, that’s okay: just click I’ll add my data later.
If you’re ready to connect, here’s what you’ll need:
- The hostname of the server where your database lives
- The port the database server uses
- The database name
- The username you use for the database
- The password you use for the database
If you’re using Heroku, here are instructions on how to get this information. If you’re an Amazon RDS kind of person, you can follow these instructions.
If you don’t have this information handy, the person responsible for administering the database should have it.
Connect to your database
Now that you have your database info you can connect to your database. Just go ahead and put your info into this form and click Next.
Usage data preferences
One last quick thing that you’ll have to decide is if it’s okay for Metabase to collect some anonymous info about how you use the product.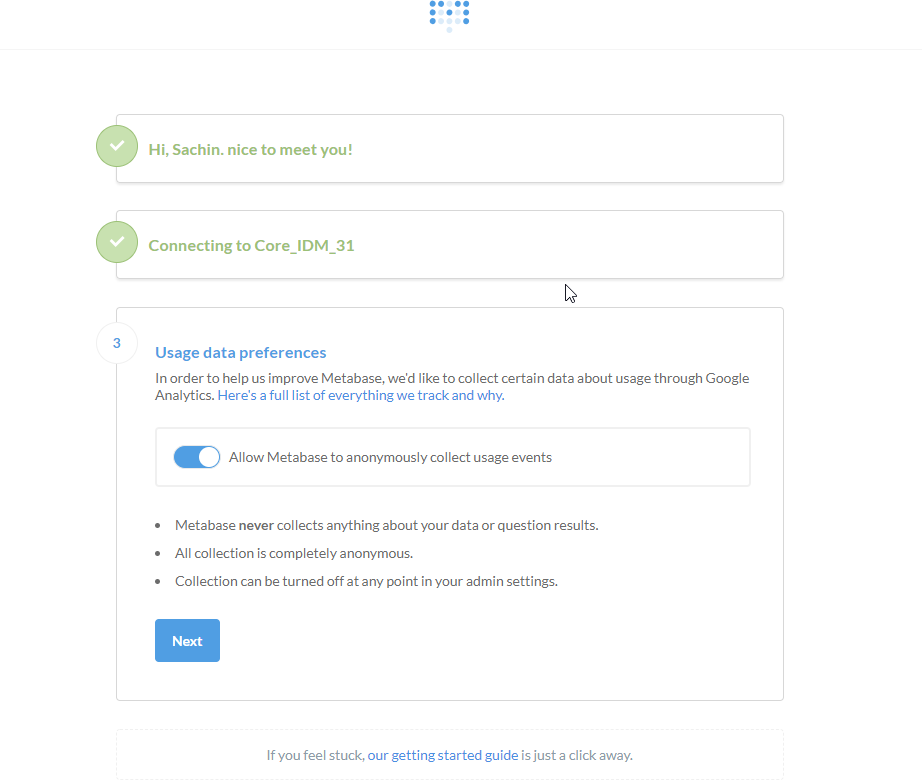
If you’re ready to start using Metabase, go ahead and click Next. Once you’re done here simply follow the link to Take me to Metabase.
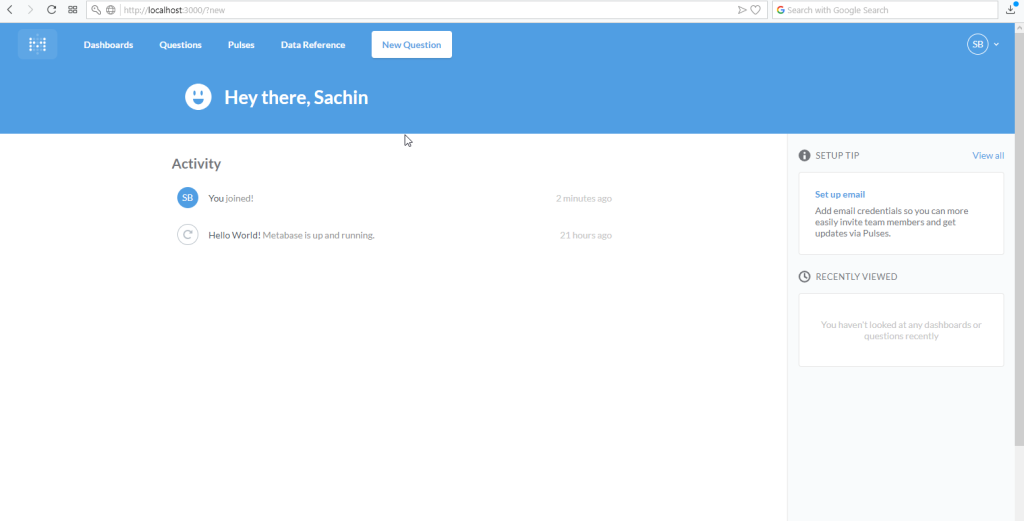
The homepage
Go ahead and log in to Metabase and the first thing you’ll see is the activity feed. Right now there’s not much there, but it’ll soon get full as you and your teammates do things in Metabase.
Creating a dashboard
Go to Dashboards panel and click on (+) plus sign for add new dashboard as the right side of the window.
You’ll see a dialog that prompts you to create a new one and give it a name and description. Name it anything you’d like. We’ll call ours “Order Info”.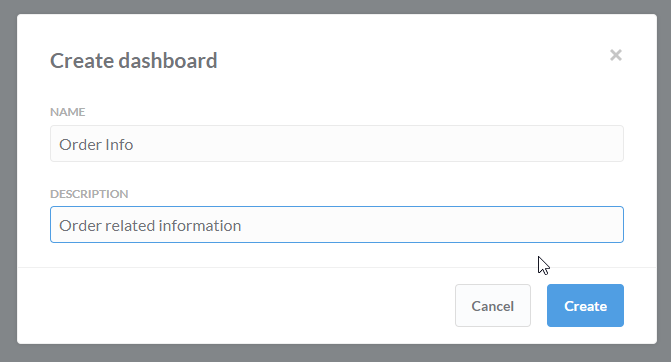
Dashboards are great when you have a set of questions and answers that you want to view together.
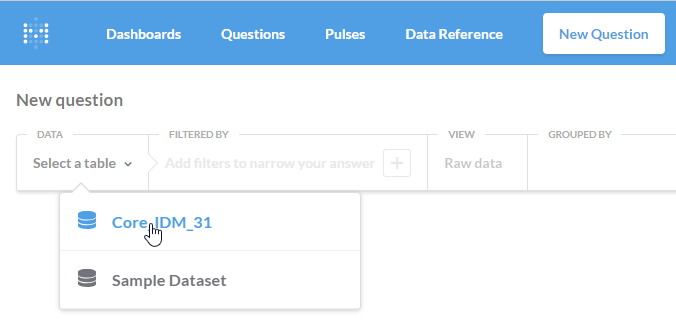
Our first question
We’re going to ask a question about the C_Order table in the Core_IDM_31 database, so we’ll search like C Order in the drop-down. The Orders table has a bunch of data.
Let’s start with the following constraint:
- Orders of Sales Transaction.
- Data show should be count the no of orders and summation of the grand total based on grouping of Date Ordered In Month wise.
- Sorting by Ascending order of grand total summation wise
- Retrieve 10 records only
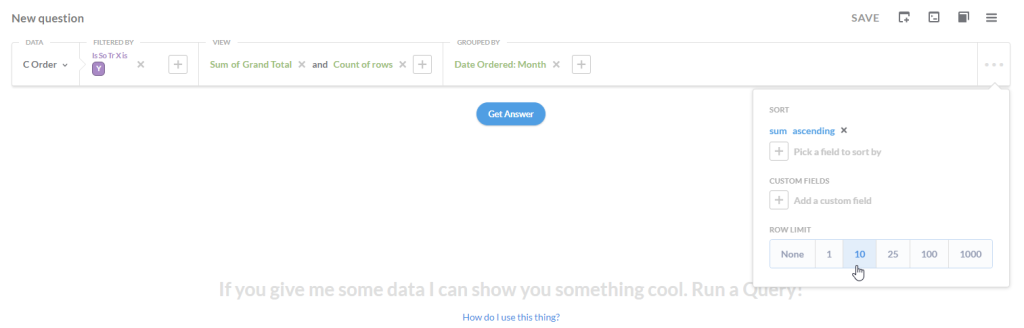
If you just want to see the result that’s in this table, you can click Get Answer and see resulted data.
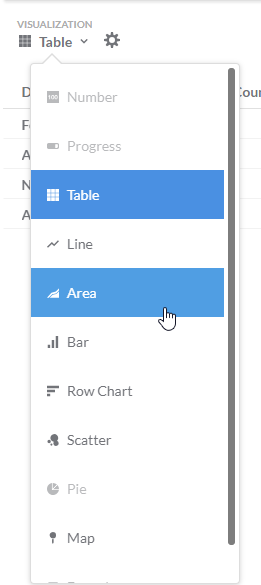
Changing the visualization
Luckily enough, Metabase can present the answers to your questions in a variety of ways. To change the visualization, just select one of the options from the Visualization drop-down menu, which is in the top-left of the screen, above the table. In our case choose Table.
Now save the Question. Let’s our case we say Name: “Month wise Order counts & Total Amt” and description as you want. and Save them.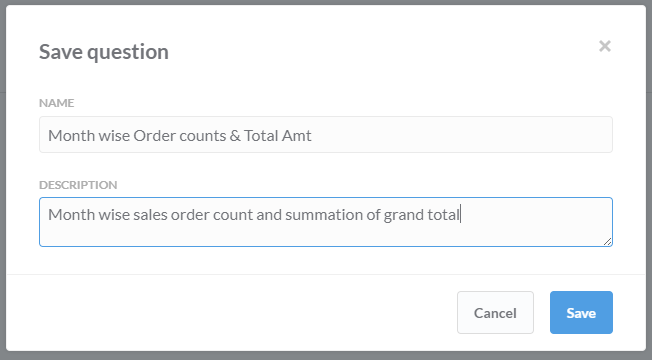
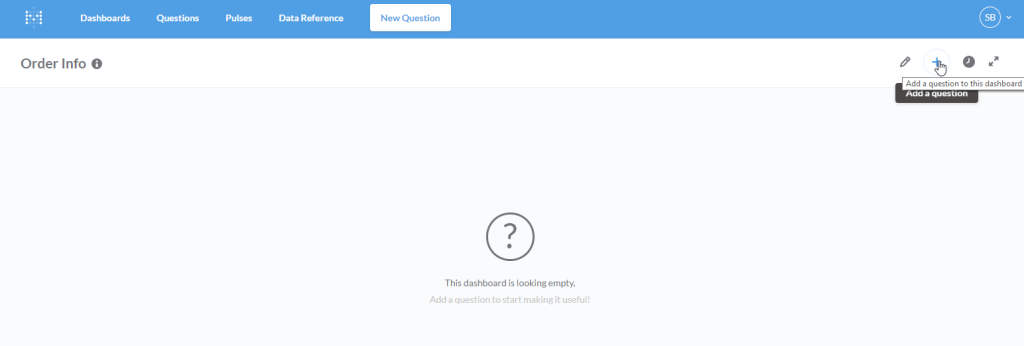
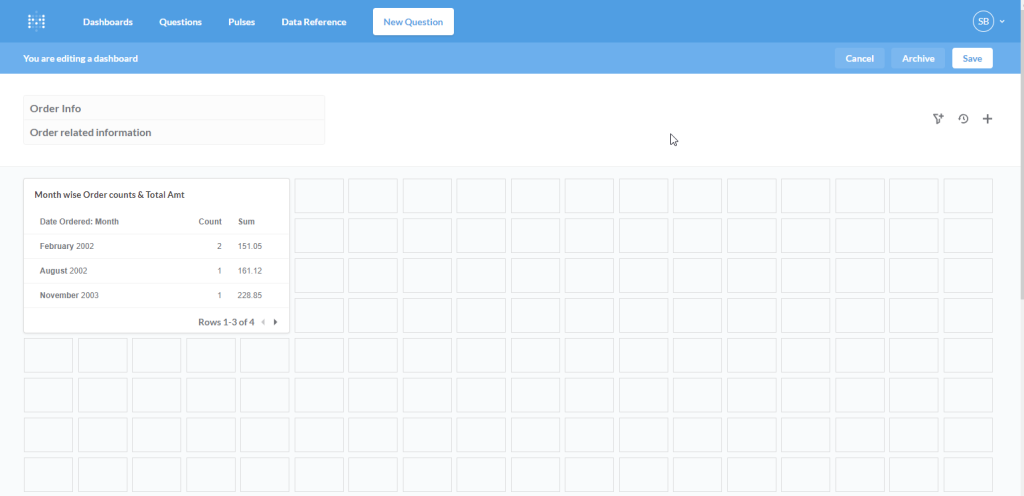
Now need to add your question into Dashboard. Go to the dashboard in which you want to add the question. first select dashboard [our case “Order Info”] and click on ( + ) plus sign to add a Question. Select the existing saved question.
Once question selected then dashboard gives to customization height & width as per your preference.
Up to here, we created a new dashboard and new question now time to expose to use outside the metabase. So goto Top-Right corner a select down arrow to populate the list and select “Admin Panel”.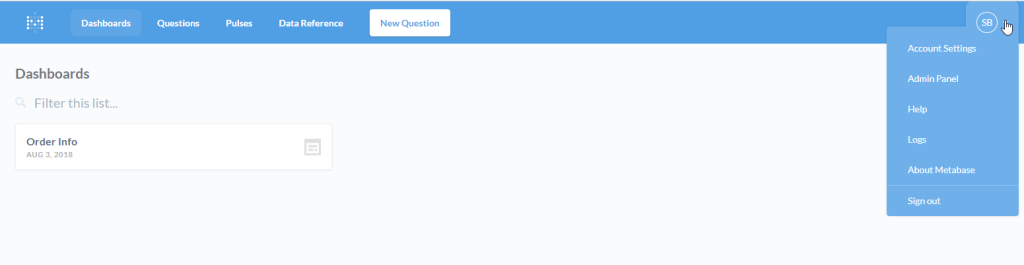
In the Admin Panel, Settings in select Public Sharing and make enable public sharing.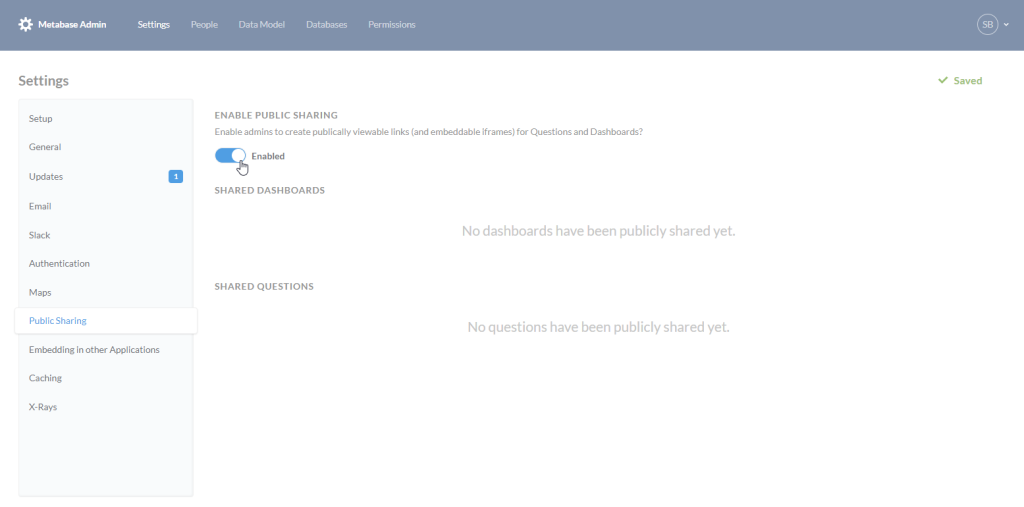
Need to go Dashboard window, do Exit Admin Panel and select dashboard you want to share the outside. In Dashboard Right side click on Sharing and embedding button and make Enable sharing toggle button ON.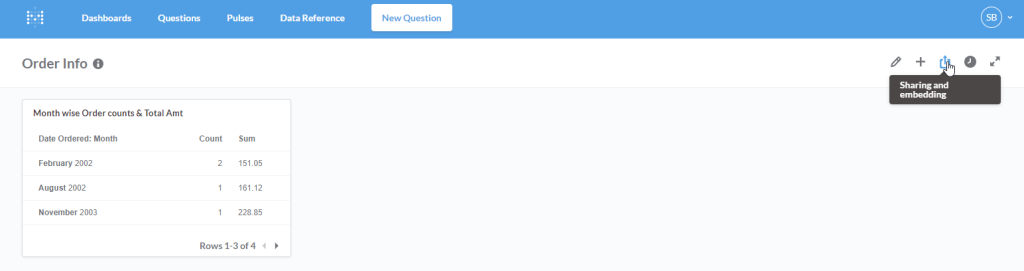
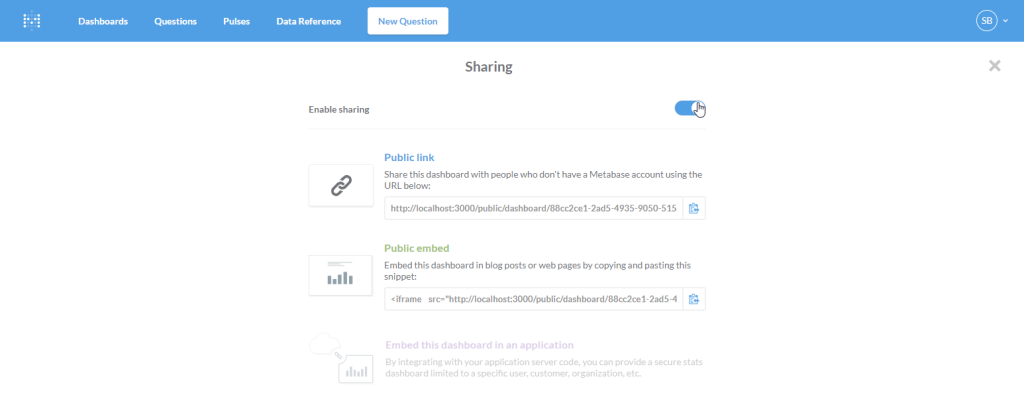
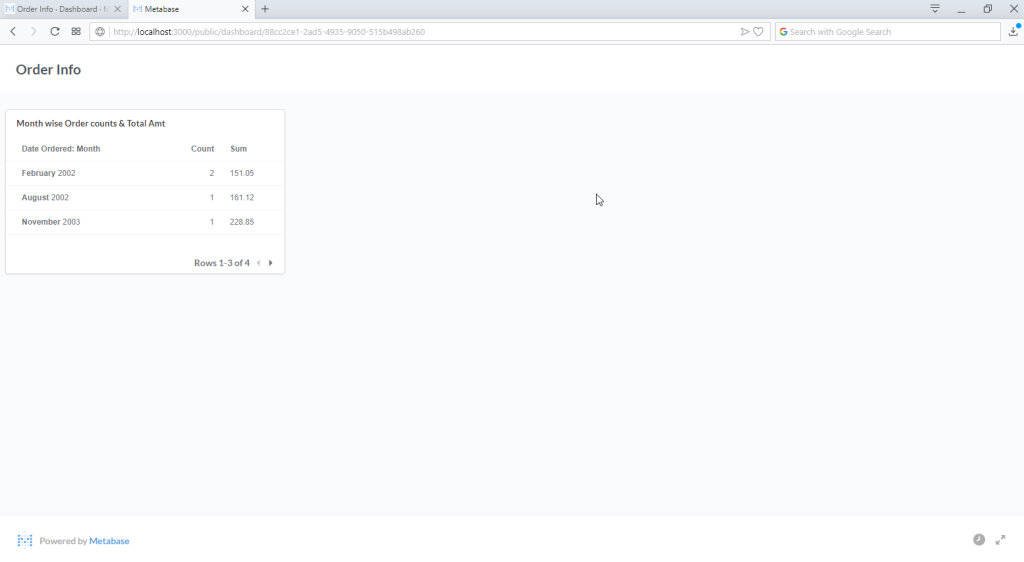
There is shown Public Link, Make copy & paste in your browser to see the visualization as you created.
Embedded with ADempiere/iDempiere
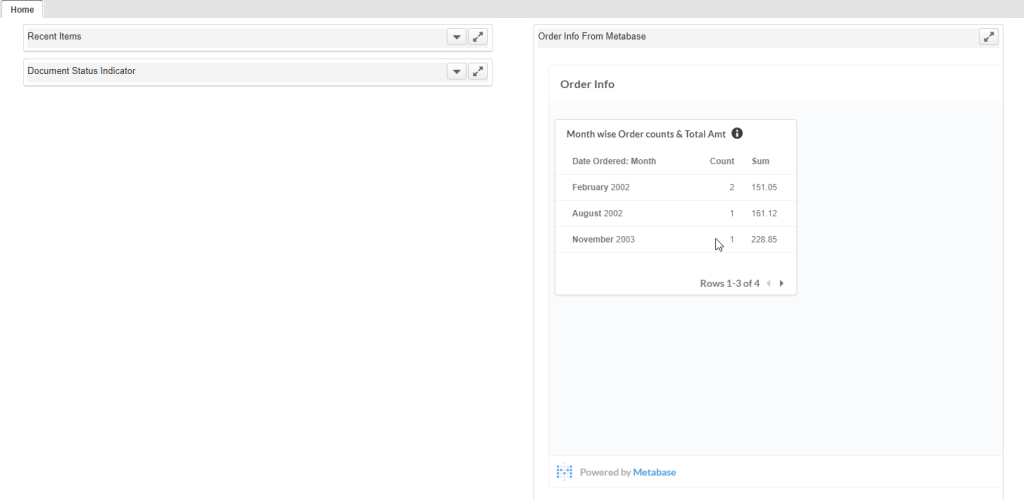
Now time to how to display in ADempiere/IDempiere dashboard. First, make copy the Public embed code. Now goto ADempiere/IDempiere. we need to create Dashboard Content either you can create in System or Client role. Lets we create in client and paste copied code into the HTML field. Save them.

Now, Make Role access update, Cache reset and Re-login to the system. Now you have seen the metabase dashboard in here.
That’s it!
You’ve done really well. You now have a dashboard with your question that you can share as what you want!
With Regards,
Sachin Bhimani @ Logilite Technologies